
What are the best practices for preparing a roof before treatment?
Before roof treatment, inspect the tiles, flashings and roof structure for damage, complete any necessary repairs, and remove moss, dirt, debris and loose coatings. The roof should then be clean, sound and suitably dry, with safe access and appropriate protection in place before treatment begins.
Effective roof treatment preparation means making sure the roof is structurally sound, clean, dry, accessible and suitable for the proposed coating or treatment. Preparation should always come before chemical application or sealing, because moss, dirt, defective tiles, trapped moisture and failed details can prevent adhesion, conceal defects or lead to premature failure.
Begin with a detailed roof inspection. Assess the condition of the tiles or sheets, ridges, verges, valleys, flashings, rooflights, outlets and associated junctions. Look for cracked, slipped, delaminated or porous tiles, open joints, corrosion, failed sealant, damaged pointing and signs of water ingress. On larger commercial or industrial roofs, also check plant supports, penetrations, gutters, internal drainage routes and areas beneath roof-mounted equipment.
The inspection should establish whether treatment is appropriate at all. A coating cannot compensate for significant structural movement, widespread tile failure, defective waterproofing or active leaks. Where defects are found, repairs or replacement should be completed and allowed to settle before the treatment proceeds. Any underlying dampness should also be investigated rather than sealed into the roof.
Confirm the roof material and existing finish. Concrete tiles, clay tiles, slate, fibre cement, metal cladding and previously coated surfaces have different cleaning and treatment requirements. Identify any existing paint, sealant, bituminous product or proprietary coating, and assess whether it is sound enough to remain in place. Loose or incompatible coatings may need to be removed, while a small test area can help confirm cleaning methods, adhesion and the likely appearance of the finished surface.
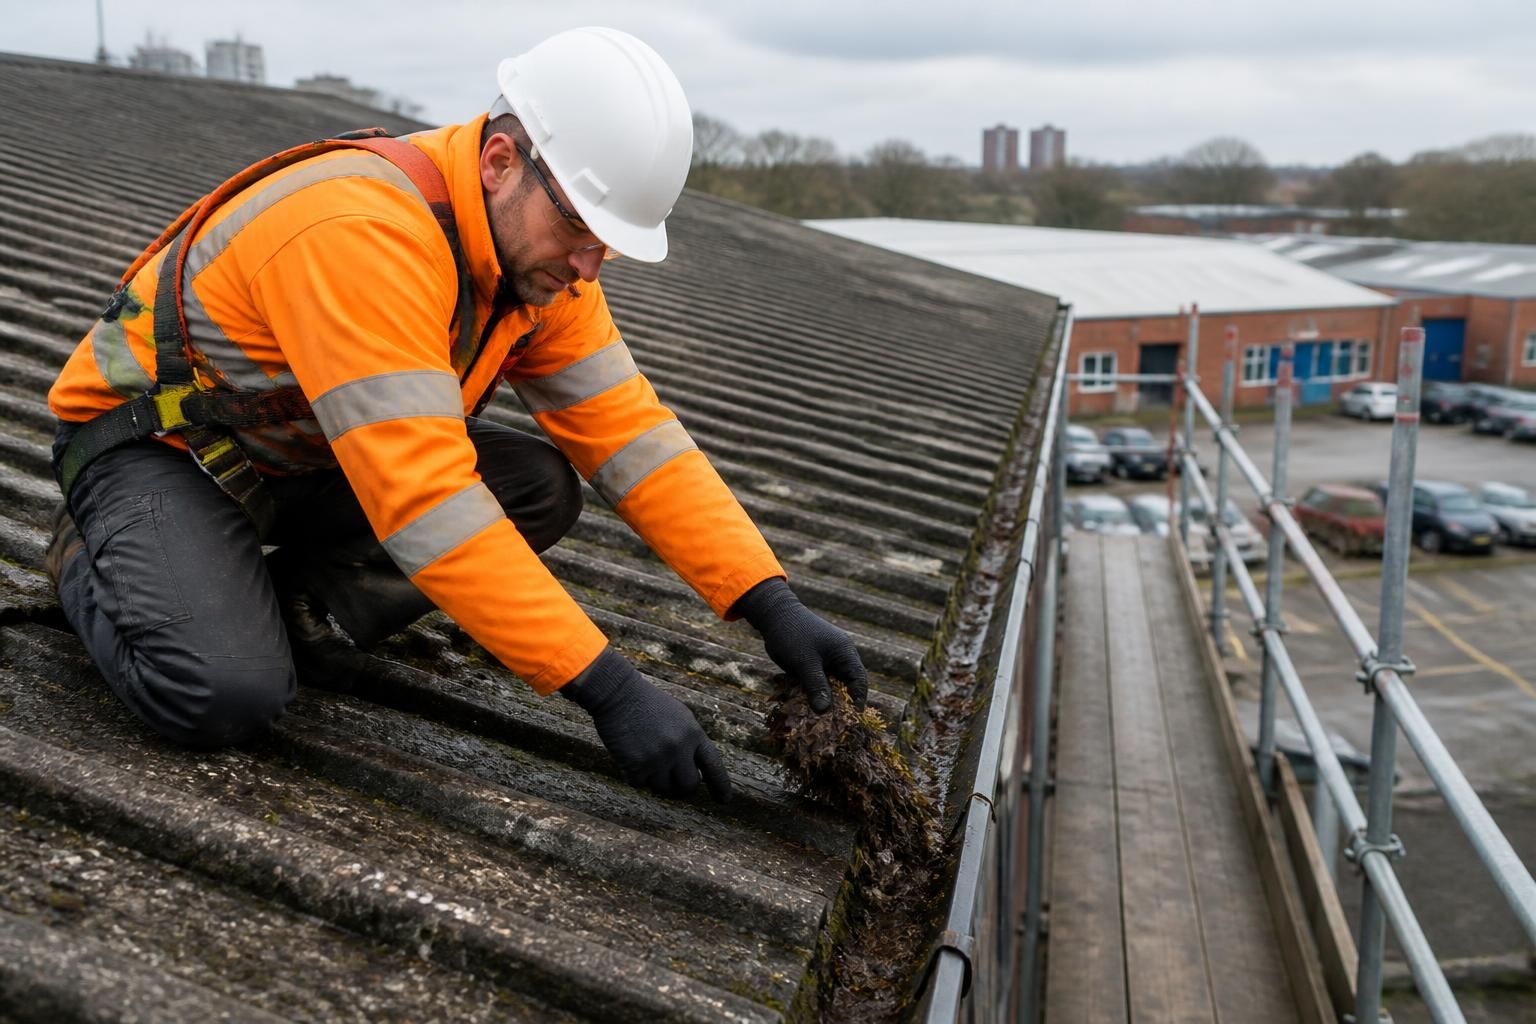
Remove organic growth and surface contamination thoroughly. Moss, algae, lichen, bird deposits, dust, soot, oil and general debris can interfere with treatment performance. Remove loose growth and debris from the roof, valleys, gutters and drainage points. Cleaning should be controlled to avoid driving water beneath tiles, damaging fragile surfaces or spreading contaminated run-off across the building and surrounding land. The chosen method may involve pressure washing, steam cleaning, soft washing or manual removal, depending on the substrate and its condition.
Particular care is needed where moss has lifted tile edges or blocked drainage channels. Removing the growth may reveal damaged or displaced tiles that were not visible beforehand. Gutters, downpipes, gullies and outlets should be cleared so that cleaning water and subsequent rainfall can drain safely. Collected debris should be removed from the site rather than left in drainage systems.
Complete repairs and prepare the substrate. Replace or refit defective tiles, secure loose components, renew failed pointing and repair damaged flashings where required. Any surface that is to receive a coating must be free from loose material, friable deposits, grease and residual cleaning chemicals. If repairs introduce new materials, check that they are compatible with the planned treatment and sufficiently cured before application.
After cleaning, allow the roof to dry fully. Moisture trapped in pores, joints or beneath overlapping tiles can affect adhesion, cause blistering or dilute water-based products. The required drying time depends on the weather, roof orientation, substrate porosity and ventilation. A visual check alone may not be sufficient on porous or shaded roofs, so the applicator should follow the product requirements and avoid treating surfaces that remain damp.
Check weather and application conditions. Treatment should be scheduled for a stable period with suitable temperature, low risk of rain and manageable wind. Avoid applying products to wet, frosted, overheated or rapidly cooling surfaces. Wind can cause overspray, uneven coverage and contamination of nearby vehicles, façades or neighbouring property. Rain shortly after application may wash off uncured material or affect the final finish, so the manufacturer’s curing requirements must be observed.
Plan safe access and site controls before work starts. Roof preparation involves work at height, slippery surfaces, pressurised water, chemicals and falling debris. Establish suitable access equipment, edge protection, temporary barriers and exclusion zones based on the roof layout and site risk assessment. Protect entrances, windows, ventilation intakes, signage, vehicles, plant and pedestrian routes from splash, overspray and falling material. Where the premises remain operational, agree delivery routes, working areas and communication arrangements with the site contact.
Inspect access equipment before use and ensure that operatives are trained for the equipment and cleaning methods involved. Fragile roof areas, rooflights and unsupported sheets must be identified and protected. Operatives should use the required personal protective equipment, including suitable footwear, eye protection, gloves and respiratory protection where the risk assessment or product information requires it. Safety measures should be proportionate to the roof type, access arrangement and substances being used.
Control water, chemicals and waste. Before cleaning begins, identify where run-off will travel and whether it could enter surface-water drains, soil, watercourses or neighbouring premises. Use collection, filtration, containment or diversion measures where necessary, and follow the relevant product instructions and site environmental requirements. Chemical residues, contaminated silt, removed moss and packaging should be handled and disposed of responsibly. Do not assume that a treatment product is suitable for discharge simply because it is diluted.
Protect sensitive materials and vegetation around the building from cleaning solutions and treated run-off. Record any pre-existing staining or damage to nearby surfaces so that it is not confused with an issue caused during the work. On commercial sites, this preparation is particularly important where roof drainage connects to shared systems or where the building is close to public areas.
Carry out a controlled test area where appropriate. A discreet test patch can confirm how the roof responds to the proposed cleaning pressure, steam or chemical process. It can also show whether the treatment achieves the intended colour, texture and level of coverage without causing excessive loss of surface material. Test areas are useful on weathered, previously coated or mixed-material roofs, but they should not replace a full inspection or compatibility assessment.
Before application, confirm the product specification, coverage method, mixing instructions, curing conditions and required number of coats. Check that the selected treatment is compatible with the roof material and with any retained coating or repair product. The work plan should define how edges, ridges, valleys, penetrations, rooflights and difficult-to-reach areas will be treated without creating missed sections or unsafe working positions.
A final pre-treatment check should confirm that:
- the roof and its supporting details have been inspected;
- necessary repairs have been completed;
- moss, dirt, loose coatings and debris have been removed;
- gutters, valleys and drainage points are clear;
- the surface is clean, sound and adequately dry;
- the treatment and any retained coatings are compatible;
- weather conditions are suitable for application and curing;
- access, fall protection and exclusion zones are in place; and
- run-off, overspray, waste and protection of surrounding areas have been planned.
Keeping records of the inspection, identified defects, repairs, cleaning method, test areas, weather conditions and products used provides a useful maintenance reference. It also makes future inspections easier, particularly on larger roofs with several materials or treatment zones. Proper preparation does not simply improve the appearance of a roof; it helps the treatment bond correctly, exposes defects that require attention and reduces avoidable risks to the building, workers and surrounding environment.
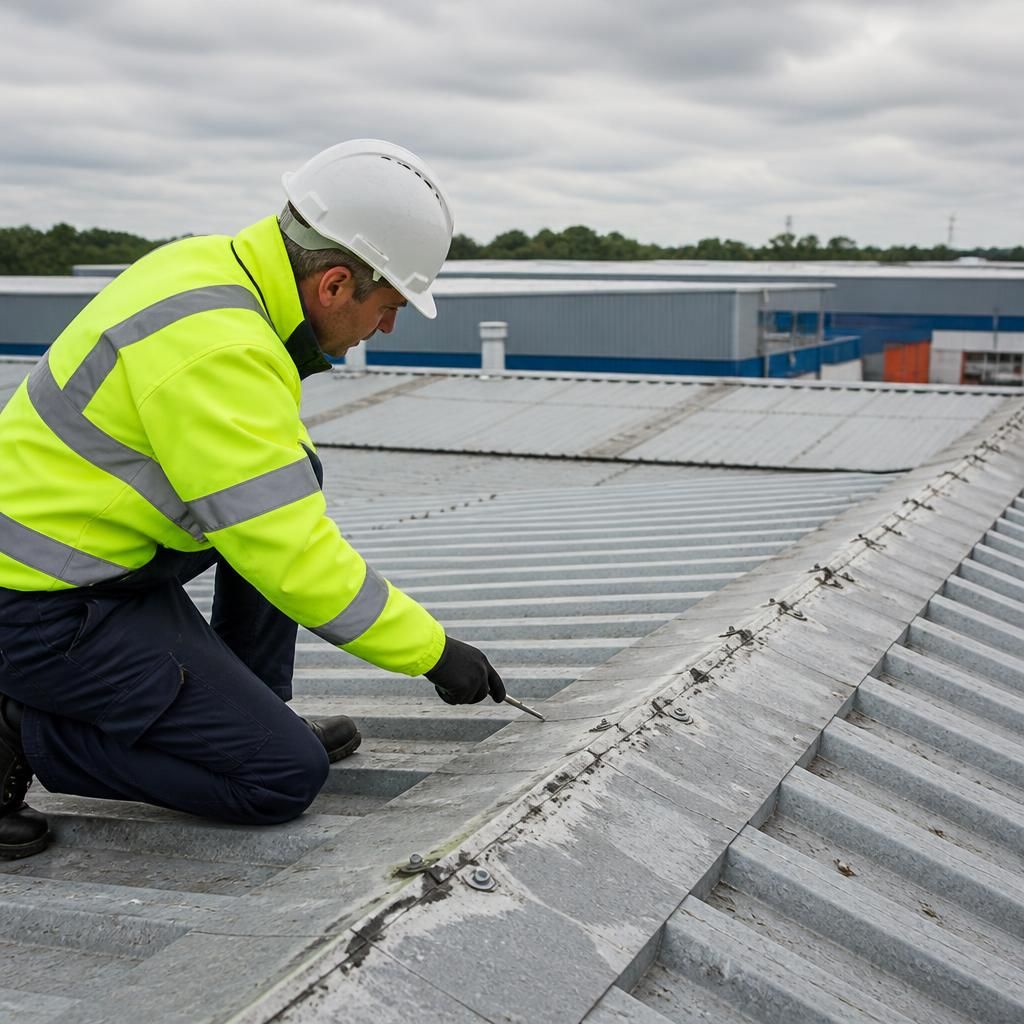
Inspecting and repairing the roof before treatment is essential because coatings cannot correct cracked tiles, failed pointing, damaged flashings or active water ingress. A treatment applied over these defects may conceal the problem, restrict drying and fail prematurely.
Check the tiles or sheets, ridges, verges, valleys, rooflights, outlets and roof-mounted penetrations for damage or movement. Replace or secure defective components, clear blocked drainage points and investigate any damp areas before cleaning or applying a coating. Once repairs are complete, the surface should be clean, sound and fully dry, with the proposed treatment confirmed as compatible with the roof material and any retained coating.