
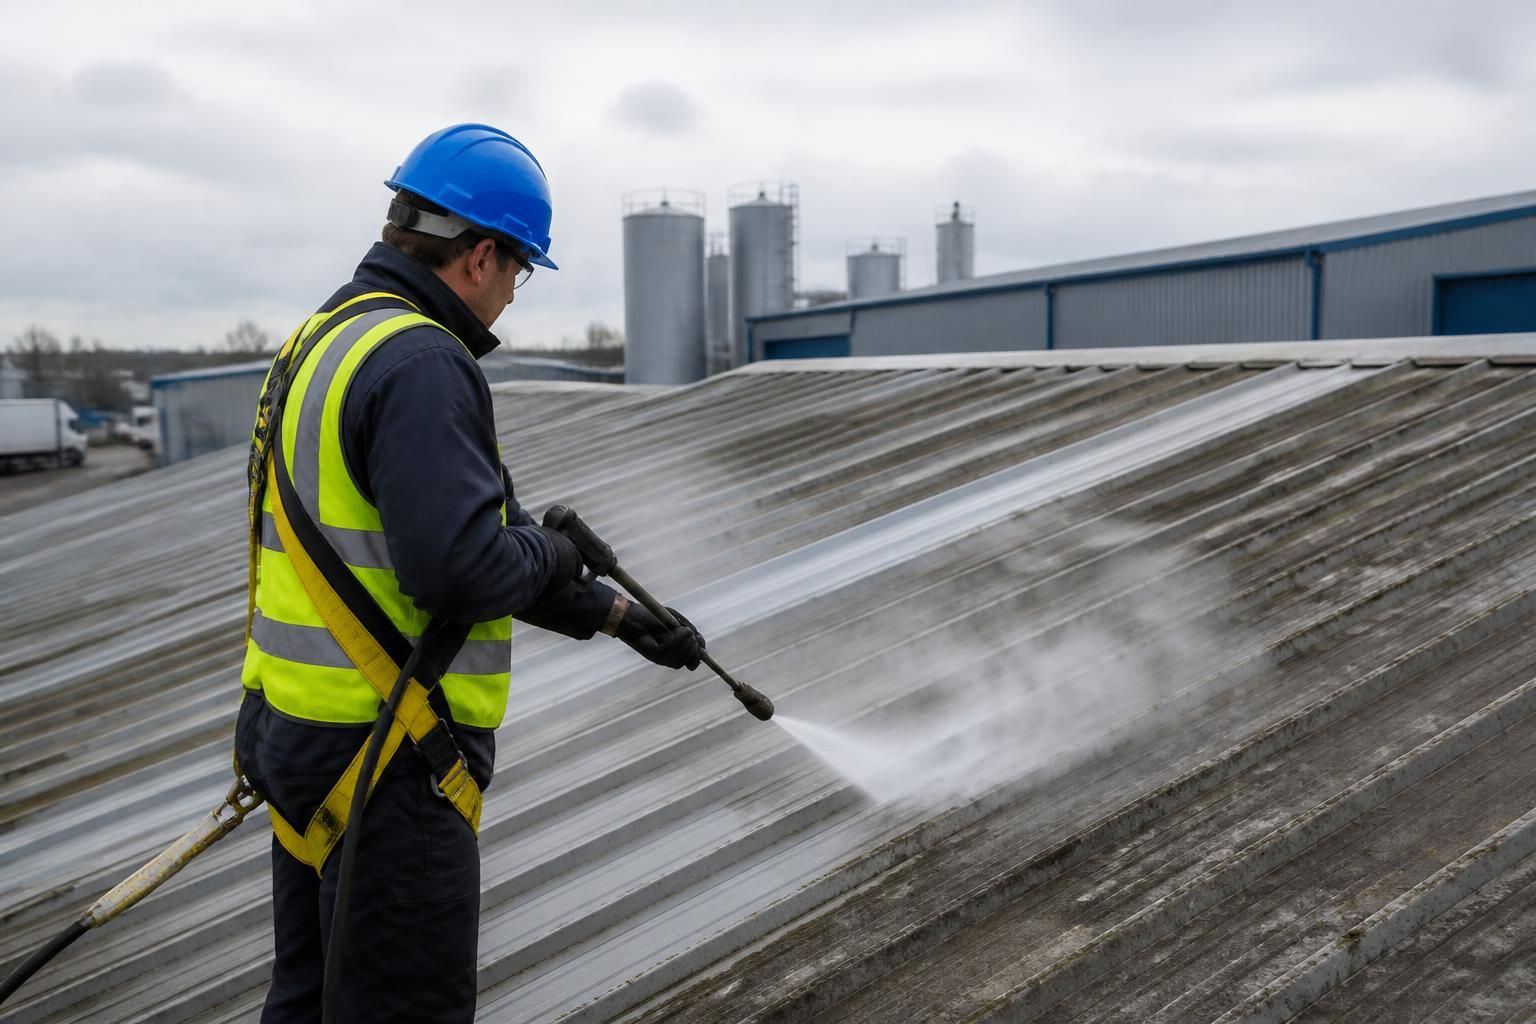
How do I determine the right cleaning settings for different types of roofing materials?
Determine roof cleaning settings by identifying the material, its condition and the type of contamination, then select the lowest effective pressure, temperature, flow rate and suitable nozzle or attachment. Test the setting in an inconspicuous area first, keeping the equipment manufacturer’s guidance and the roof’s condition in mind to avoid dislodging tiles, damaging coatings or forcing water beneath the covering.
The right roof-cleaning settings are determined by the roofing material, its condition, the contamination being removed and the equipment being used. Start with the lowest effective pressure, temperature and flow rate, select a wide spray pattern or suitable attachment, and test it in an inconspicuous area before cleaning the main surface. The setting is appropriate only when it removes the contamination without disturbing the covering, forcing water beneath it or damaging its finish.
Assess the roof before choosing a setting
Identify the roof covering rather than relying on its appearance alone. Clay and concrete tiles, natural slate, coated metal, fibre cement, single-ply membranes and built-up roofing all tolerate different levels of mechanical and thermal cleaning. Check for cracked or loose sections, failing mortar, exposed fixings, open laps, degraded coatings, ponding water and previous repairs. A surface that is technically robust may still be too fragile to clean aggressively if it is weathered or poorly maintained.
Also identify the contamination. Loose dust, moss, algae and bird fouling may respond to gentle rinsing and an appropriate treatment, whereas ingrained atmospheric soiling, oil deposits and paint or graffiti may require a carefully controlled combination of pressure, heat, detergent and dwell time. Removing biological growth mechanically without addressing its roots or residues can also result in rapid regrowth.
How to set the main cleaning controls
- Pressure: Use the lowest pressure that achieves a clean result. High pressure can strip protective coatings, fracture tiles, drive water beneath laps and flashings, or loosen pointing and fixings. Pressure at the pump is not the same as pressure at the roof; nozzle size, flow rate, hose length and working distance all affect the force reaching the surface.
- Temperature: Use cold water where heat is unnecessary, particularly on heat-sensitive membranes, aged coatings and some sealants. Warm or steam cleaning can improve the removal of grease and stubborn deposits, but excessive heat may soften, distort or blister roofing materials. Allow the surface and its construction to guide the setting rather than assuming that a hotter wash is more effective.
- Flow rate: A controlled flow can rinse away loosened contamination while reducing splashback and water consumption. Excessive flow may overwhelm drainage, introduce water into vulnerable joints or spread contamination across adjoining areas. Confirm that gutters, outlets and temporary drainage can handle the water produced.
- Nozzle and spray pattern: Begin with a wide fan pattern or a surface-cleaning attachment designed for the material. Avoid narrow, concentrated jets on tiles, slate, membranes, seals and coated metal unless a controlled specialist process specifically requires them. Keep the lance moving and avoid holding the spray over one point.
- Working distance and angle: Increase the distance if the surface shows marking, displacement or coating damage. Keep the spray directed away from laps, ridge details, flashings, vents and other locations where water could be driven underneath the covering. Work from the cleaner area towards the drainage point where practicable.
- Cleaning solution: Select a treatment that is compatible with the roof material, existing coating and surrounding vegetation. Apply it at the manufacturer’s recommended concentration and dwell time, and prevent it from drying on the surface. Rinse thoroughly where the product instructions require it and control run-off.
Suitable starting approaches for common roofing materials
- Clay and concrete tiles: Use a gentle, controlled wash with a broad spray pattern. Older tiles can be porous, brittle or weakened by frost, so avoid aggressive impact and do not rely on pressure to remove every trace of staining. Treat biological growth where appropriate and take care around tile edges, ridge tiles, valleys and mortar joints.
- Natural slate: Slate can split, delaminate or become displaced, particularly when it is weathered or already loose. Use a low-impact method and avoid directing water beneath overlaps or against exposed edges. Inspect the fixings and surrounding flashings before cleaning, as cleaning can reveal defects that should be repaired rather than subjected to further washing.
- Coated and galvanised metal: Start with a mild detergent, low-impact rinsing and a non-abrasive attachment. Avoid settings that scratch the finish or expose the underlying metal. Check the compatibility of any chemical with the coating, and rinse residue from joints, fixings and drainage channels. Heat should be controlled because some coatings, sealants and repair products are temperature-sensitive.
- Single-ply membranes and rubber roofing: Use low-impact cleaning and avoid sharp nozzles, abrasive pads and solvents that could attack the membrane or welds. Keep water away from unsealed edges, penetrations and vulnerable seams. Follow the membrane manufacturer’s maintenance guidance, particularly where the roof has a protective finish or ballast.
- Fibre cement and older sheet materials: Establish the material’s age and composition before work begins. Some older products may contain asbestos and must not be pressure washed, brushed aggressively or disturbed. Arrange appropriate assessment and specialist controls where asbestos is possible, rather than selecting a cleaning setting by appearance alone.
- Built-up or felt roofing: Use a gentle process that does not lift the surface layer, damage mineral finishes or open seams. Avoid directing concentrated spray at laps, edge details and penetrations. Where the covering is blistered, loose or brittle, cleaning may not be suitable until a roofing professional has assessed it.
Use a controlled test area
Before starting the full clean, select a small, representative area that includes the same material, coating and level of soiling as the rest of the roof. Apply the proposed detergent and allow the correct dwell time, then clean using the lowest proposed setting. Inspect the result after rinsing and drying. Look for colour change, exposed substrate, fibre release, coating loss, scuffing, water ingress, displaced coverings and damage to pointing or seals.
If the test does not remove the contamination, change one variable at a time. For example, extend the approved dwell time, adjust the detergent, use a more suitable attachment or make a small change to working distance before increasing pressure. This makes it easier to identify what is producing the result and prevents unnecessarily aggressive cleaning.
Adjust settings for roof condition and surrounding details
Do not use one setting across an entire commercial roof if the materials or condition vary. Newer coated metal may tolerate a different approach from faded sections, while sound tiles may differ from areas affected by frost damage. Reduce the intensity around skylights, rooflights, vents, solar equipment, cable entries, flashings, gutters and sealant joints. Protect façades, vehicles, entrances and pedestrian routes from overspray and contaminated run-off.
On larger premises, record the material, test method, nozzle or attachment, pressure, temperature, detergent and observations for each roof zone. This creates a consistent method for the cleaning team and provides a useful maintenance record for future visits. Stop work if tiles move, the surface begins to shed material, water enters the building or the coating responds unexpectedly.
Follow safety and equipment guidance
Roof cleaning settings must be considered alongside access and safety controls. Use suitable edge protection, access equipment and fall-prevention measures, and do not depend on the roof surface being sound simply because it can be reached. Manage hoses, electrical supplies, run-off and public access, and make sure the cleaning method does not overload fragile roof areas. Equipment instructions, chemical safety data and the roofing manufacturer’s maintenance requirements should take precedence over a generic pressure-washing setting.
For commercial roofs with fragile, coated, temperature-sensitive or unidentified materials, a documented test and a conservative cleaning method are essential. If the surface cannot be identified confidently, or if damage is already present, arrange an assessment before cleaning rather than increasing the equipment settings to compensate.
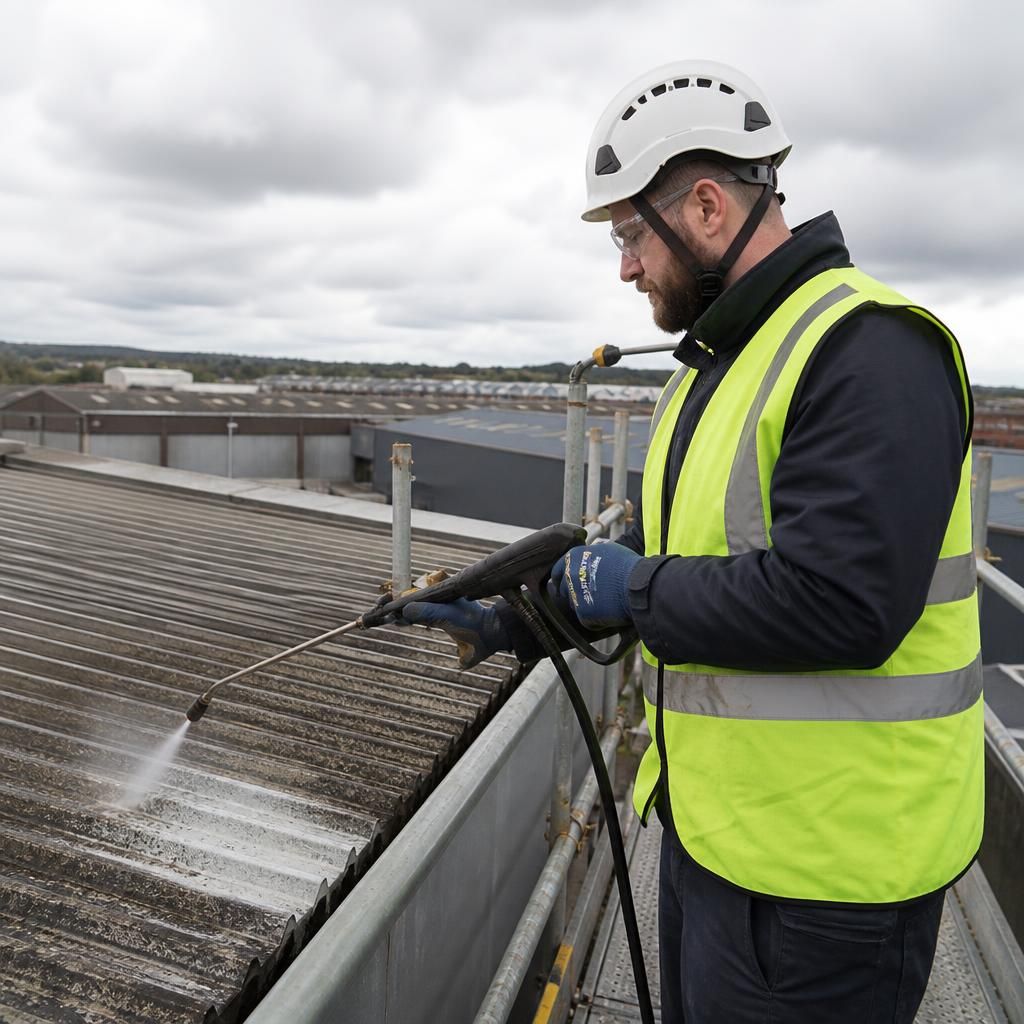
The safest way to confirm roof cleaning settings is to carry out a controlled test on a small, representative area before treating the full surface. Use the proposed detergent, dwell time, pressure, temperature, flow rate and attachment, then inspect the roof after rinsing and drying.
Check for displaced tiles or slate, coating loss, colour changes, scuffing, exposed substrate, damaged seals and signs of water ingress. If the result is inadequate, adjust one factor at a time—such as the dwell time, detergent or working distance—before considering any increase in pressure. Record the approved method for each roof zone, particularly where materials or conditions vary.