
What are the steps involved in a biocide roof treatment?
A biocide roof treatment involves inspecting the roof, preparing the surface, applying the biocide evenly, allowing it to work over time, and completing a final check with suitable aftercare advice. The process is carried out with appropriate access, safety and environmental controls to target moss, algae and lichen without unnecessarily disturbing the roof covering.
A biocide roof treatment is completed through a controlled sequence of inspection, preparation, application, dwell time and aftercare. The roof is first assessed to confirm its condition and material, then loose contamination is removed where appropriate before the biocide is applied evenly. The treatment is left to work gradually against moss, algae and lichen, rather than relying on aggressive cleaning to remove every trace immediately.
The exact method depends on the roof covering, the extent of biological growth, access arrangements and the product’s instructions. A professional application should always balance treatment effectiveness with protection of the roof, surrounding surfaces, vegetation, drainage systems and people on or near the property.
-
Roof inspection and planning
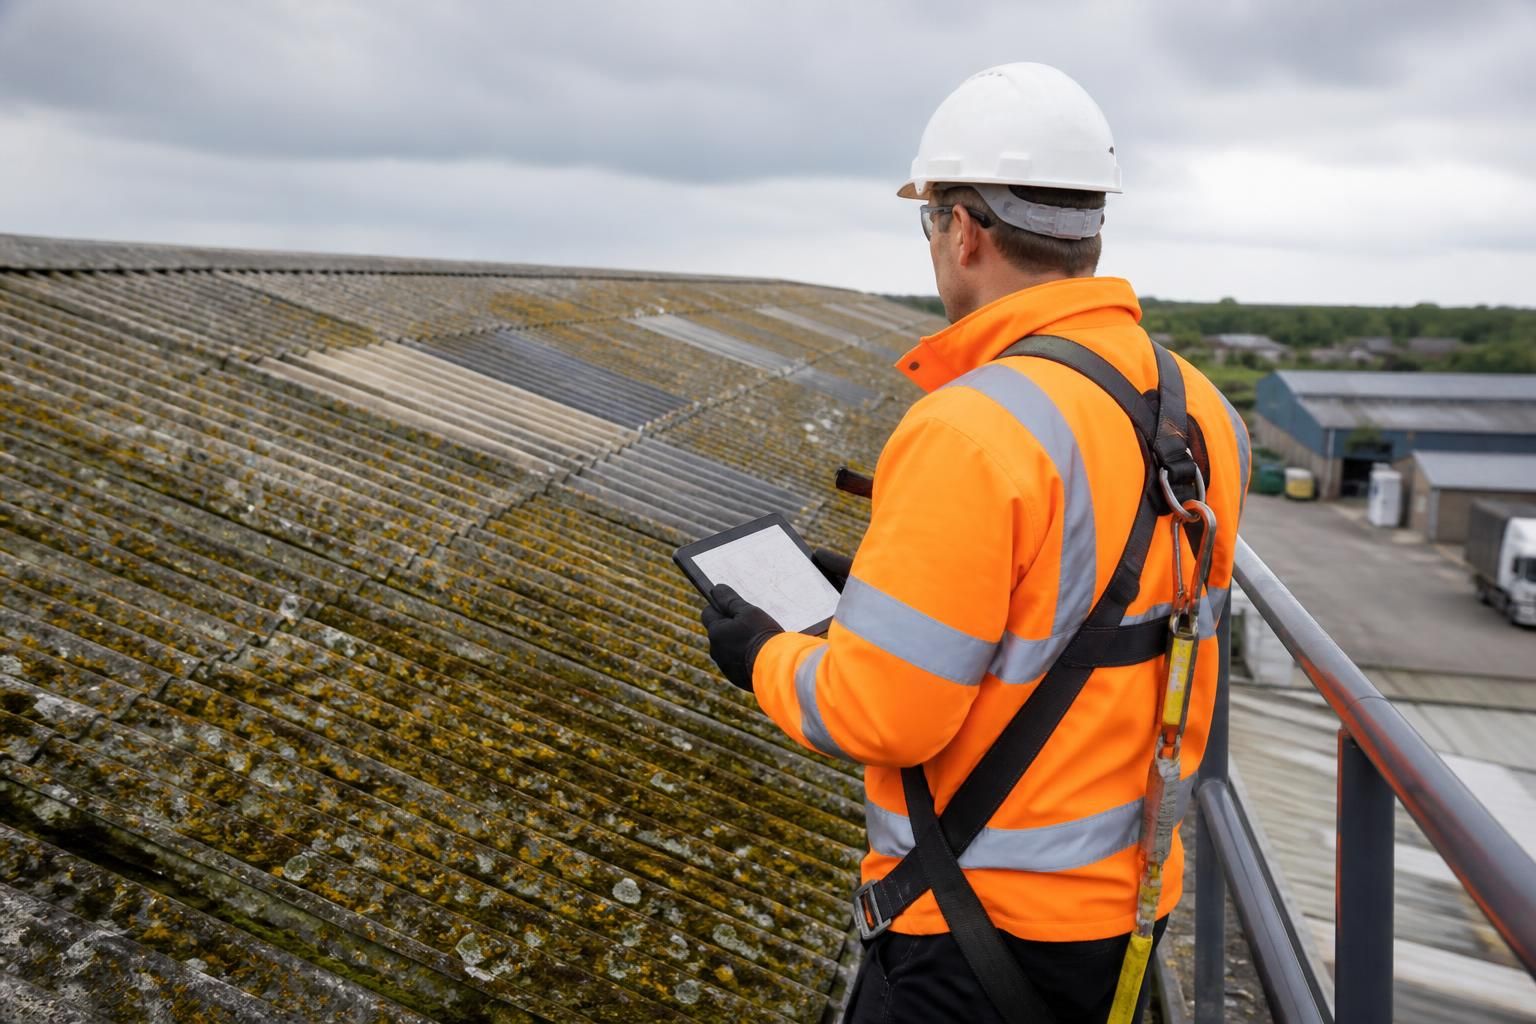
The process begins with a visual inspection from safe access points. This identifies the roof covering, its age and general condition, along with areas affected by moss, algae, lichen, staining or trapped organic debris. The inspection should also look for cracked or slipped tiles, damaged slates, open joints, defective flashing, blocked gutters and fragile areas that may not safely support foot traffic.
Access requirements are assessed at this stage. Depending on the roof and building, work may require scaffold, towers, mobile access equipment or other suitable controls rather than unsupported ladder work. The contractor should also consider nearby windows, doors, air intakes, painted surfaces, rainwater goods, solar panels and sensitive landscaping. This information determines whether the roof needs light preparation, which application method is appropriate and how overspray or run-off will be controlled.
-
Preparation of the roof and surrounding area
Before treatment, loose moss and surface debris may be removed by hand or with a carefully selected low-impact method. This is not the same as forceful pressure washing. On vulnerable or weathered coverings, excessive pressure can dislodge tiles, drive water beneath laps or worsen existing defects. Some roofs are better suited to treatment with minimal disturbance, allowing the biocide to break down remaining growth gradually.
Gutters, downpipes and drainage routes are checked and protected where necessary. Nearby surfaces and plants may be covered, dampened or otherwise shielded in line with the product assessment and site conditions. Any visible roof defects should be recorded and discussed before application, because a biocide treatment is not a substitute for roof repairs or waterproofing work.
-
Biocide application
The selected, label-compliant biocide is mixed and applied according to the manufacturer’s instructions. It may be applied using suitable low-pressure spraying equipment or another method chosen for the roof profile and material. The aim is to wet the affected surfaces evenly without creating unnecessary drift, pooling or run-off.
Particular care is needed around roof edges, valleys, gutters, rooflights, wall finishes and adjoining property. Weather conditions are checked before and during application. Strong wind, rain, extreme heat or unsuitable temperatures can affect coverage, drying and environmental control, so the work may need to be postponed. Operatives should use the required personal protective equipment and follow the relevant risk assessment, COSHH controls and product guidance.
-
Dwell time and gradual biological action
After application, the treatment is left in place for the specified period so it can act on moss, algae and lichen. Results are usually gradual. Discolouration may reduce first, while established moss and lichen can dry out, weaken and detach over time through weathering. The roof may therefore not look completely clear immediately after the work.
The treated surface should not be disturbed prematurely unless this has been specifically included in the method statement. Unnecessary rinsing can reduce contact time and may increase contaminated run-off. The product instructions, weather conditions and condition of the roof determine whether any later rinsing or follow-up removal is suitable.
-
Final checks and aftercare
Once the application is complete, the work area is checked for missed sections, visible run-off, affected neighbouring surfaces and any debris requiring removal. Gutters and drainage points may need attention, particularly where loosened organic matter is likely to collect. Any precautions for occupants, maintenance teams or other contractors are explained before the site is handed back.
Aftercare normally involves allowing the treatment to continue working naturally and monitoring the roof rather than repeatedly scraping or pressure washing it. The timing of visible improvement varies with the type and depth of growth, roof exposure, weather and the covering itself. A follow-up inspection can confirm whether further treatment or limited cleaning is appropriate. Keeping gutters clear and addressing overhanging vegetation can also help reduce conditions that encourage recurring growth.
Throughout the process, effective roof treatment depends on more than the chemical application alone. Correct identification of the roof material, controlled access, suitable preparation, accurate coverage and responsible management of run-off all affect the outcome. If damaged or fragile areas are found, these should be dealt with separately so the biocide treatment does not conceal a maintenance issue or place unnecessary stress on the roof.
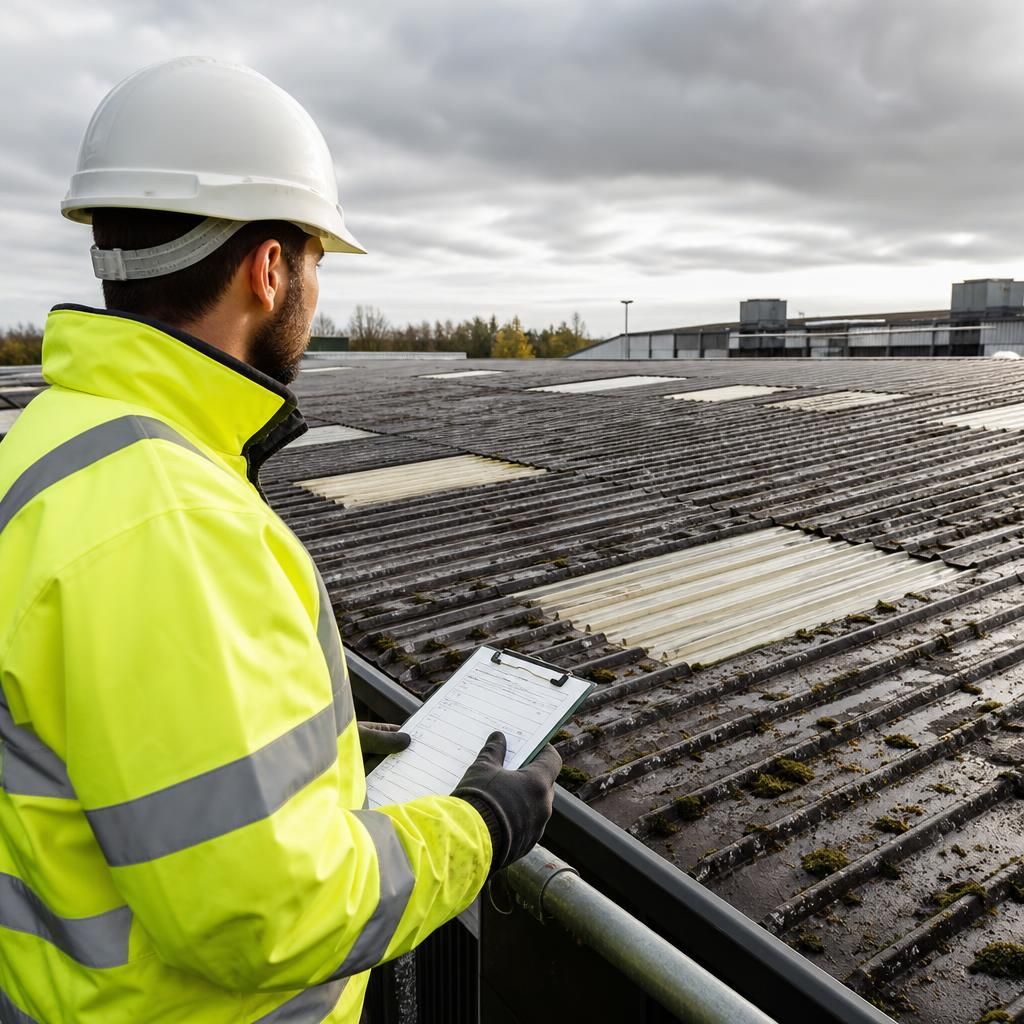
The first step in a biocide roof treatment is a careful inspection to identify the roof material, biological growth and any defects that could affect the work. The contractor checks for damaged or slipped tiles, fragile areas, defective flashing, blocked gutters and existing moss, algae or lichen before deciding how the roof should be accessed and prepared.
This assessment also covers nearby windows, wall finishes, rainwater goods, solar panels, plants and drainage routes. These details help determine the safest application method and the controls needed to prevent unnecessary spray drift or contaminated run-off. A biocide treatment can deal with biological growth, but it should not be used to conceal or replace essential roof repairs.