
What are the practical steps involved in the bio cleaning process for removing cement from sandstone?
Bio cleaning cement from sandstone involves assessing and testing the surface, protecting adjacent areas, applying a suitable biodegradable treatment, allowing controlled dwell time, and gently rinsing away the loosened residue. The sandstone is then inspected and, where necessary, treated again carefully to achieve a clean finish without damaging the stone.
Bio cleaning cement from sandstone is a controlled process in which a suitable biodegradable treatment softens or breaks down cement residues so they can be removed with gentle agitation and rinsing. The practical sequence is assessment, trial testing, protection of surrounding materials, careful product application, controlled dwell time, low-impact removal, inspection and, if required, repeat treatment. This approach limits the need for aggressive abrasion or high-pressure cleaning, which can damage sandstone.
1. Assess the sandstone and cement deposits
The process begins with a close inspection of the surface. The cleaning technician identifies the type of sandstone, its condition, porosity, weathering, existing coatings and any previous repairs. Cement may be present as thin splashes, mortar smears, thick lumps, embedded residues or staining that has migrated into the stone. These conditions require different treatment intensities.
Joints, edges, carved details and areas of friable or delaminating stone receive particular attention. The inspection also considers nearby materials, including glass, painted surfaces, metals, timber, brickwork, paving, planting and drainage points. This information determines the appropriate cleaning product, application method, rinsing procedure and level of containment.
2. Carry out a small test area
A discreet test patch is treated before the main work starts. This confirms whether the bio-cleaning product is compatible with the sandstone and establishes how effectively it softens the cement. The test also shows whether the stone changes colour when wet, whether existing staining is revealed beneath the cement and how much agitation and rinsing are needed.
The test area is checked after it has dried, rather than judged only while the stone is wet. If the result is unsuitable, the treatment can be adjusted before the wider surface is exposed. On historic, listed or especially fragile masonry, the test procedure should form part of the agreed conservation method statement.
3. Prepare and protect the work area
Loose fragments, dust and surface debris are removed using non-abrasive methods. Adjacent surfaces are masked or protected, and vulnerable fittings, windows, vents and drainage outlets are covered where appropriate. Plants and soil may need temporary protection, particularly where rinse water could carry cleaning residues into planted areas.
Run-off is controlled so that loosened cement, cleaning solution and rinse water do not spread across untreated masonry or enter drains without suitable management. The work area should have appropriate ventilation and safe access. Operatives also use the personal protective equipment specified for the product, even where the treatment is biodegradable.
4. Pre-wet the sandstone where the method requires it
Many sandstone surfaces are lightly pre-wetted before treatment. This reduces rapid absorption and helps the cleaning solution work nearer the surface rather than penetrating unnecessarily into the stone. The exact approach depends on the sandstone’s porosity and the product manufacturer’s instructions. Some treatments must be applied to a dry surface, so pre-wetting should never be assumed.
Water is applied in a controlled way rather than by saturating the wall or flooding joints. The aim is to create consistent conditions across the test area and the main elevation without driving contaminants deeper into the masonry.
5. Apply the biodegradable treatment
The selected bio-cleaning solution is applied evenly to the cement-affected areas using a low-pressure sprayer, brush or another controlled method. Application is kept localised where possible, especially if clean sandstone surrounds isolated cement splashes. Thick deposits may require the product to be worked into the residue with a soft brush after any loose material has been removed.
The treatment is chosen specifically for the stone and the cement contamination. A biodegradable product is not automatically safe for every sandstone, and a stronger concentration is not necessarily more effective. Acidic or otherwise unsuitable chemicals can etch, lighten, discolour or weaken some sandstone, so the product’s technical instructions and the test result must govern the method.
6. Allow a controlled dwell time
The solution is left in contact with the cement for the period established during testing. This dwell time allows the treatment to soften or loosen the residue. The surface is monitored throughout so that the product does not dry out, run onto unprotected areas or remain in contact longer than recommended.
Keeping the treatment active may involve light reapplication or gentle brushing, but the surface should not be scrubbed aggressively. Dwell time is adjusted for weather, shade, temperature, cement thickness and sandstone porosity. Rapid drying in direct sun or wind can reduce performance and create uneven results.
7. Remove the loosened cement gently
Once the cement has softened, it is removed using soft brushes, plastic tools or other non-abrasive equipment suitable for the surface. Thick or proud deposits may sometimes be lifted mechanically by hand before the remaining film is treated. Metal scrapers, grinding discs and hard abrasive pads are avoided because they can scratch sandstone, remove surface detail or expose a visually different layer of stone.
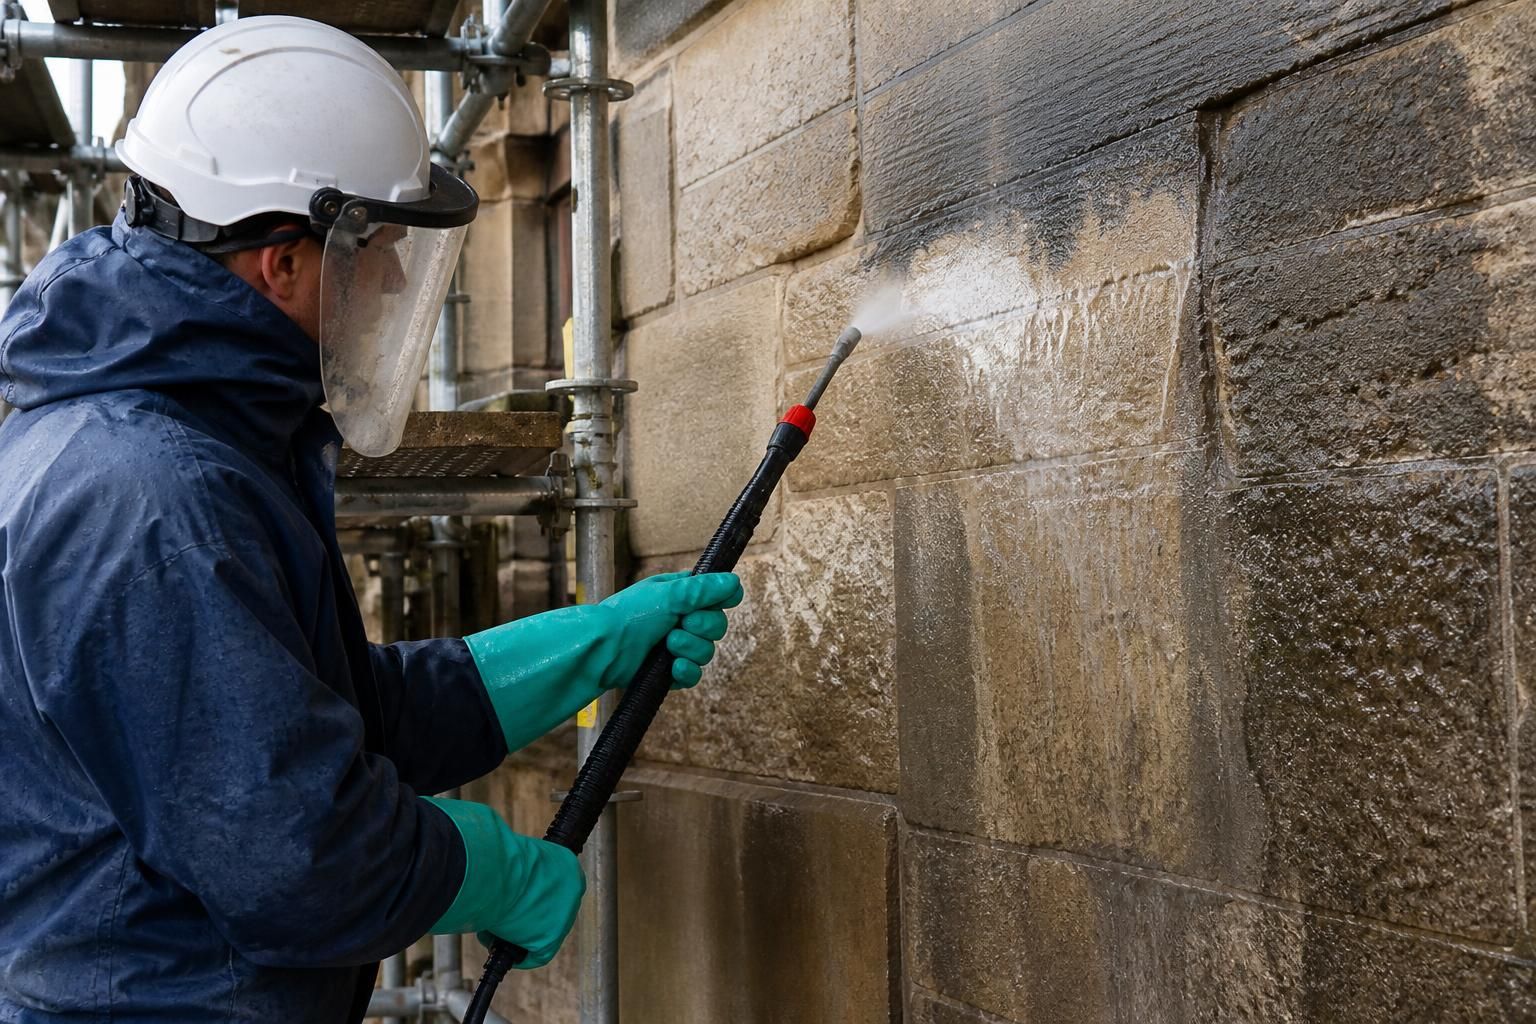
Rinsing is carried out at the lowest effective pressure. The water flow should be sufficient to carry away the loosened residue without forcing water into joints or eroding the sandstone. The operator works methodically from clean areas towards collection points, changing rinse water or managing run-off as necessary.
8. Neutralise or rinse in accordance with the product method
Some bio-cleaning systems require a particular neutralising or final-rinse procedure, while others are removed through thorough rinsing alone. The correct method is determined by the product data and the test results. Residual cleaning solution should not be left on the sandstone, as it may continue reacting or leave a film that attracts dirt.
Rinse water is checked for visible cement particles, foam, discolouration and remaining product. Where run-off is collected, it is handled and disposed of in accordance with site requirements and applicable drainage and environmental controls.
9. Inspect the surface after drying
Sandstone is inspected when dry because dampness can conceal residual cement, colour variation and areas of over-wetting. The inspection checks for remaining mortar film, cement lodged in texture or joints, changes in colour, disturbed pointing and any evidence of surface damage.
A small amount of residual cement may require a further localised application rather than a more aggressive treatment across the whole elevation. Repeat cleaning is carried out only after the surface has been assessed and the cause of the remaining residue is understood. It is often safer to make several controlled passes than to increase pressure, concentration or abrasion unnecessarily.
10. Complete the final clean and record the result
After the cement has been removed, the surface receives a final controlled rinse and is allowed to dry naturally. Protective coverings are removed carefully, nearby surfaces are checked for splashes or run-off and the work area is left free of loose residue. Any damaged pointing, open joints or pre-existing defects identified during cleaning should be recorded for separate repair rather than concealed by further cleaning.
For commercial, historic or multi-elevation work, the cleaning method, test result, products used, areas treated and any limitations should be documented. Photographs taken before, during and after the work provide a useful record, particularly where cement has penetrated the stone or where complete removal could risk damaging the surface.
Important practical considerations
- Bio cleaning should be selected and tested for the specific sandstone, not applied as a universal treatment.
- Thick cement deposits may need careful hand reduction before the biodegradable treatment can reach the bonded residue.
- Friable, cracked or heavily weathered stone may require conservation advice before cleaning begins.
- Cold, wet, hot or windy conditions can affect dwell time, drying and the consistency of the result.
- High pressure, rotary abrasion and harsh acids should not be used to compensate for inadequate assessment or insufficient dwell time.
- Complete removal may not be appropriate if the cement has entered deep pores or if further treatment would remove sound sandstone.
When these steps are followed, bio cleaning provides a measured way to reduce cement contamination while preserving the texture, profile and weathered character of sandstone. The key controls are compatibility testing, containment, product discipline, gentle mechanical action and a final inspection based on the dry surface.
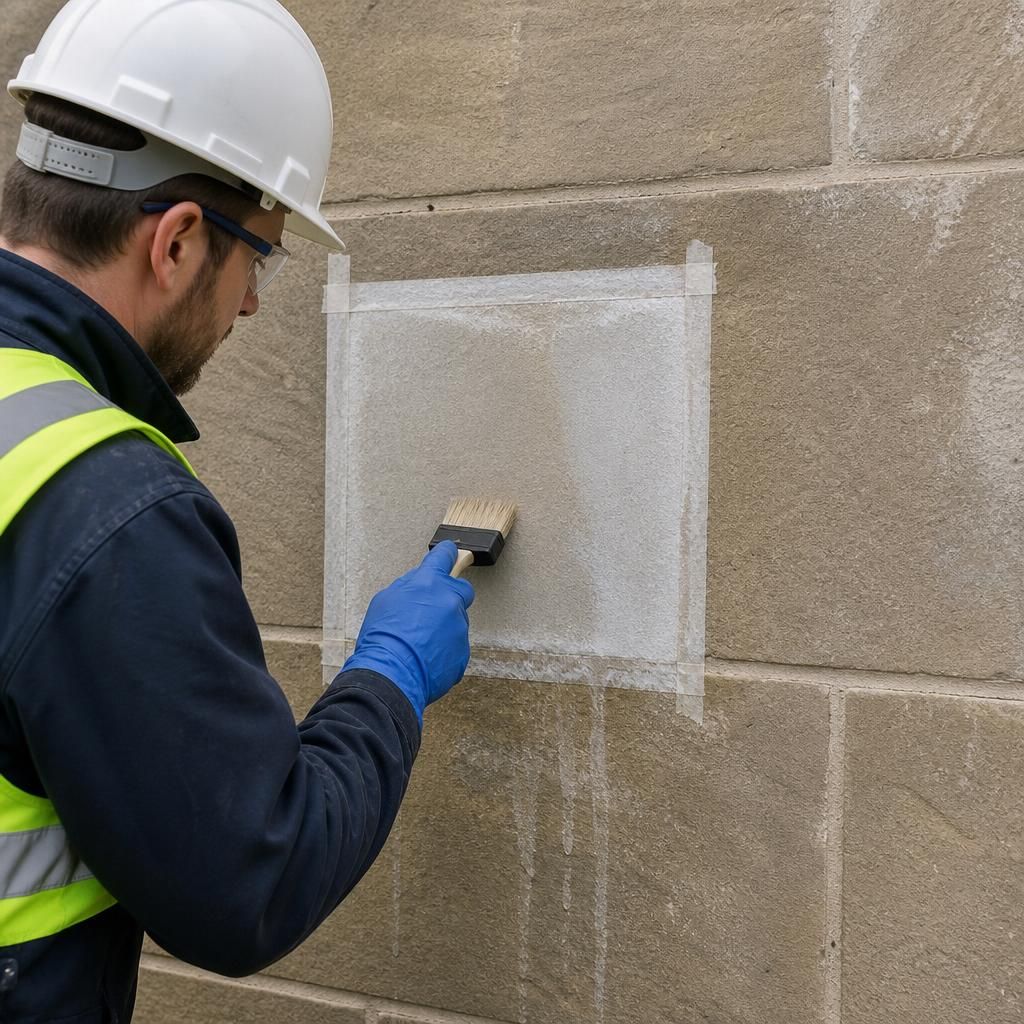
A discreet test area is an essential first step when using bio cleaning to remove cement from sandstone. It confirms that the treatment is compatible with the stone, shows how effectively it softens the cement and establishes the safest dwell time, agitation and rinsing method.
The test area should be inspected again after drying, as damp sandstone can conceal colour changes, residual cement or surface damage. Only once the result is acceptable should the treatment be applied more widely. If cement remains, a localised repeat treatment is generally safer than increasing pressure, concentration or abrasion across the whole surface.