
How do I assess the impact of different graffiti removal techniques on various surface materials?
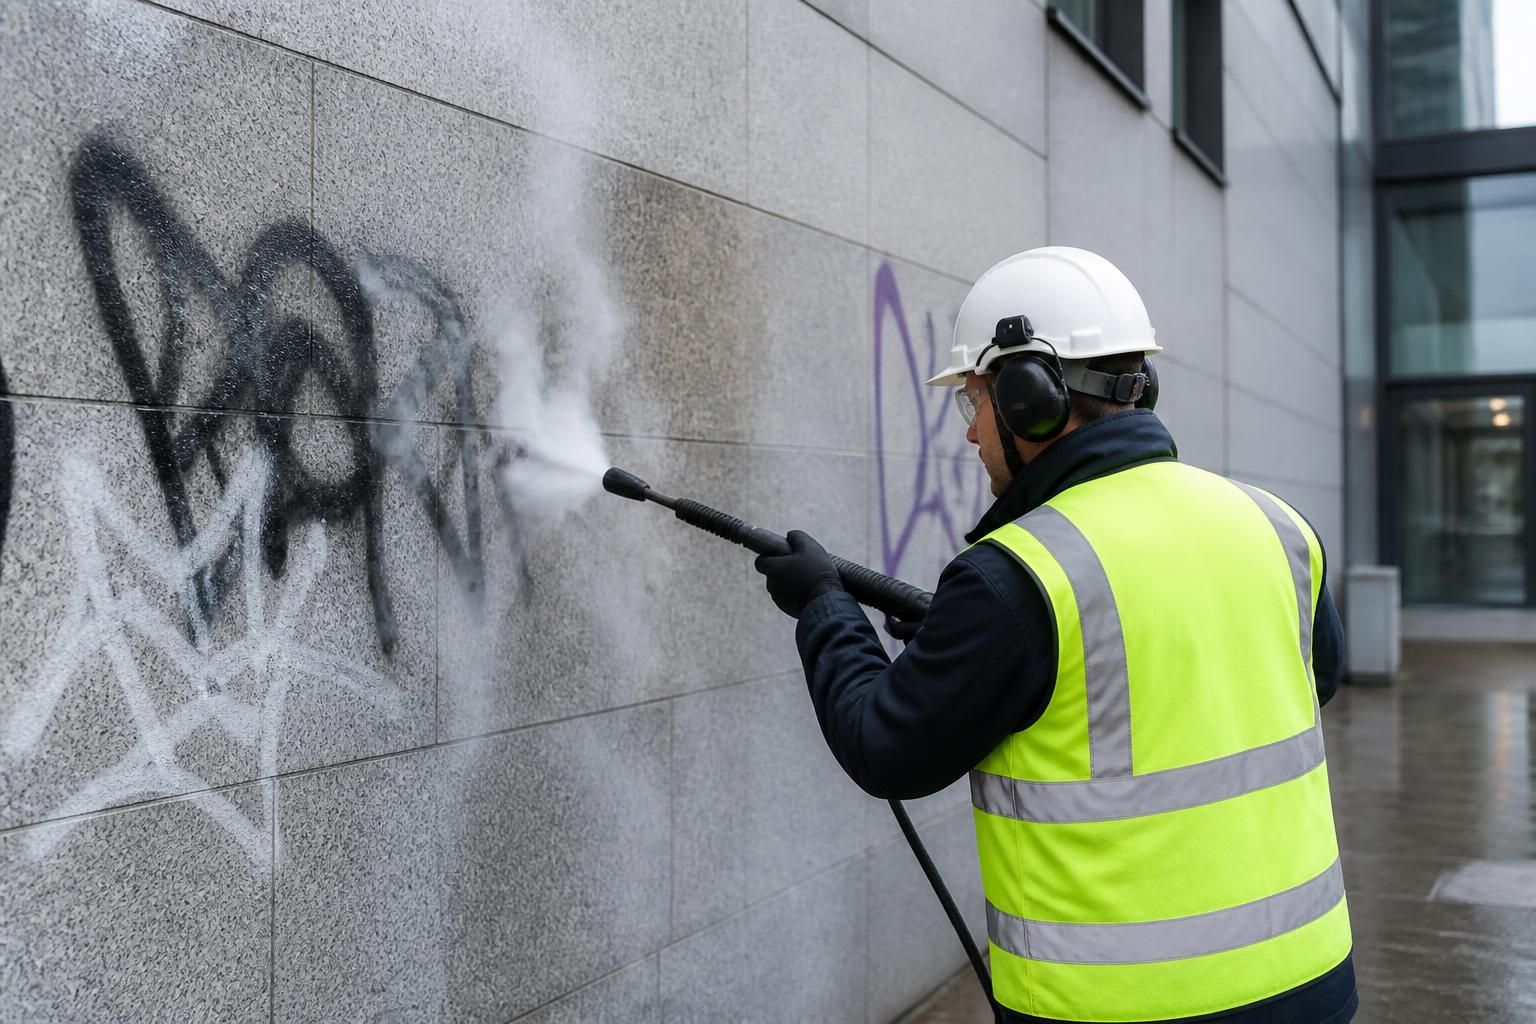
Assess the impact of each graffiti removal technique by carrying out a controlled test patch, then comparing how well it removes the paint, whether it alters the surface, and what residue or discolouration remains. The safest method is the least aggressive combination of product, pressure, temperature and dwell time that achieves a clean result without damaging the material.
The impact of a graffiti removal technique is assessed by comparing its cleaning effectiveness with any change to the underlying surface. A controlled test patch should be completed before full treatment, using the lowest combination of chemical strength, pressure, temperature, dwell time and abrasion that removes the graffiti without altering the substrate, coating or surrounding finish.
Assessment should consider more than whether the visible paint has disappeared. A method may remove the graffiti but still cause damage through etching, staining, loss of texture, coating failure, corrosion, joint erosion or moisture penetration. The result should be reviewed while the surface is wet and again after it has dried, as some defects and shadowing only become apparent once the water has evaporated.
Start with a surface and coating assessment
Identify the substrate, its condition and any applied finish before choosing a removal method. Record whether the surface is porous, smooth, painted, sealed, weathered, cracked or previously repaired. Also establish the type of graffiti where possible. Aerosol paint, marker ink, adhesive residue and older, layered graffiti may respond differently to the same product.
Look for existing defects such as spalling concrete, friable brick faces, loose render, failed paint, open joints, rust, delamination or previous cleaning marks. These conditions can make it difficult to distinguish new cleaning damage from pre-existing deterioration. Photographs and written notes provide a useful baseline for comparing the test patch and the completed work.
Use a controlled test patch
- Select a representative area. Test on the same material, coating and condition as the graffiti wherever possible. An inconspicuous location is preferable, but it should not be so sheltered or degraded that it gives a misleading result.
- Change one variable at a time. If different products, pressures or temperatures are tested simultaneously, it becomes difficult to identify what caused the result. Record the product, dilution, dwell time, water temperature, pressure, nozzle type, working distance and agitation method.
- Begin with the least aggressive option. Start with gentle cleaning, such as a suitable graffiti remover with controlled agitation, low-pressure rinsing or steam where appropriate. Increase the intensity only when the previous approach is ineffective and the surface remains unaffected.
- Rinse and inspect properly. Remove chemical residue using a controlled rinse and check for remaining pigment, halos, tide marks, surface roughening, colour change or exposed aggregate. Inspection should include the edges of the patch, where over-cleaning can create a visible contrast.
- Allow the area to dry. Compare the dried test patch with the untreated surface in consistent lighting. Some porous materials show temporary darkening during cleaning, while other changes, such as bleaching or gloss loss, may be more noticeable after drying.
Assess the cleaning result against the substrate
For each test patch, record the level of graffiti removal and the condition of the material afterwards. A useful assessment asks whether the paint has been removed from the surface and from the pores, whether a shadow or outline remains, and whether further treatment would increase the risk of damage. A slightly visible residue may be preferable to aggressive cleaning that permanently alters a façade.
Check for changes in colour, sheen, texture, profile and water behaviour. On painted or coated surfaces, look for lifting, softening, blistering, feathering at the edges and a difference in gloss. On masonry, check whether the face has become smoother, more open or lighter than the surrounding area. Also inspect joints, seals, trims and adjacent materials because cleaning can affect components that were not directly marked.
Brick and masonry
Brick can be porous and may retain pigment below the surface. Chemical softening followed by a controlled low-pressure rinse or steam treatment can be appropriate, but excessive pressure or abrasive media may remove the fired face of the brick, widen joints or expose a softer inner layer. Compare the test patch for surface pitting, colour variation, mortar loss and increased water absorption. Older, handmade or weathered brick generally requires more cautious treatment than dense modern brick.
Concrete may tolerate a broader range of techniques, but polished, painted, sealed or exposed-aggregate concrete can react differently. Abrasive methods may alter the texture or remove the cement-rich surface, while strong chemicals can leave discolouration or affect sealers. Check whether aggregate has been exposed, whether the surface has become rougher and whether the cleaned area remains visually consistent after drying.
Natural stone and render
Natural stone must be assessed according to its type, porosity, finish and condition. Softer or more porous stone can be etched or discoloured by unsuitable chemicals, high pressure or abrasive cleaning. Test for loss of the original surface, altered tooling marks, edge damage and changes to the stone’s colour or sheen. Avoid assuming that a technique suitable for granite or dense stone will be suitable for limestone, sandstone or other more absorbent materials.
Render, painted render and textured coatings can be particularly vulnerable to pressure, heat and solvents. A test should establish whether the graffiti can be removed without stripping the coating or exposing the base. Look for a change in texture, softened paint, loose particles and a visible difference between the treated and untreated areas. Where the graffiti has penetrated a damaged coating, complete removal may not be possible without local repair and repainting.
Metal, cladding, glass and plastics
Metal surfaces should be checked for paint systems, powder coating, galvanising and existing corrosion. Chemical products may dull or soften finishes, while trapped moisture or incomplete rinsing can contribute to corrosion. Assess colour, gloss, coating adhesion and the condition of joints and fixings. On aluminium and coated cladding, a method that is effective on uncoated steel may cause permanent marking.
Glass is generally non-porous, but scratches, seal damage and residue can still result from scraping or unsuitable abrasives. Use tools and products appropriate to the glass finish, and inspect for fine scratching under suitable light. Plastics and polycarbonate can haze, craze or soften when exposed to certain solvents. The test patch should therefore be checked for clarity, brittleness and changes in surface gloss, not just paint removal.
Painted surfaces, timber and specialist finishes
On painted walls, doors, street furniture and signs, the objective is to remove the graffiti while preserving the original coating. Test whether the remover draws out or spreads the graffiti, lifts the paint beneath it or creates a patch with a different sheen. If the underlying paint is already weak, local repainting may be safer and more consistent than repeated chemical or pressure treatment.
Timber is absorbent and can retain colour below the grain. Pressure may raise the grain or drive contamination deeper, while solvents can change the stain or protective finish. Assess grain condition, colour, swelling, raised fibres and the appearance of the surrounding timber after drying. Specialist surfaces, protective films and heritage materials should be treated conservatively and, where necessary, reviewed by an appropriately qualified professional.
Compare techniques using practical criteria
When comparing test patches, assess the following:
- how completely the graffiti has been removed, including shadows and embedded pigment;
- whether the original colour, texture, profile and gloss have been retained;
- whether the method has caused pitting, etching, abrasion, coating failure or fibre damage;
- how much water, chemical residue or contaminated runoff has been generated;
- whether the technique can be applied safely around pedestrians, vehicles, landscaping, drainage and building entrances;
- the likelihood that repeated maintenance will produce cumulative damage; and
- whether the cleaned area blends with the surrounding surface once dry.
The preferred method is not necessarily the one that produces the most immediate or visually stark removal. It is the method that gives an acceptable finish with the lowest risk to the substrate and the surrounding environment. If two approaches perform similarly, select the one that uses less aggressive treatment, creates fewer control issues and is easier to repeat consistently during future maintenance.
For larger commercial or industrial sites, keep a record of the successful test method for each material and location. This should include product details, equipment settings, preparation, rinsing and waste controls. Consistent records help prevent unsuitable techniques being applied to different surfaces and provide a clear reference when graffiti returns or when several contractors are working across the same property.
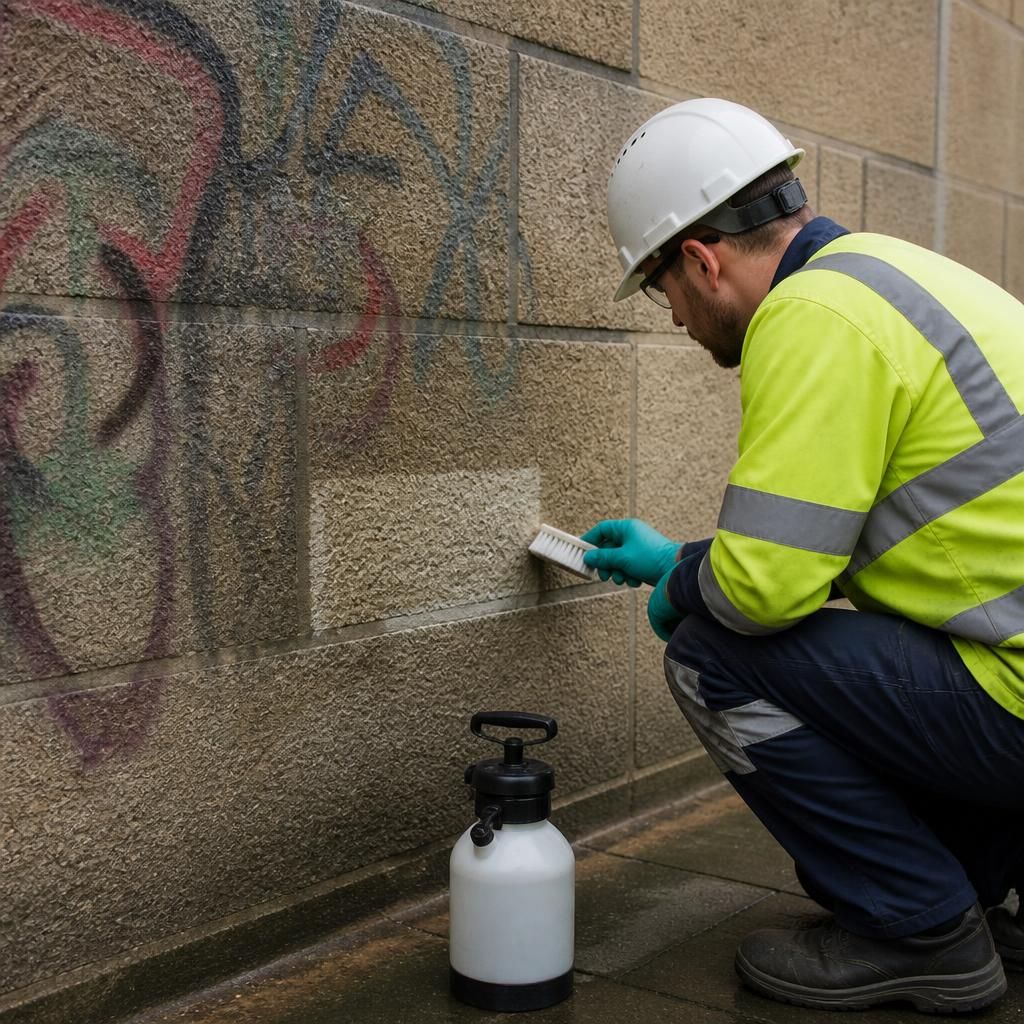
A controlled test patch is the most reliable way to assess how a graffiti removal technique will affect a surface. Test the proposed product and equipment on a small, representative area, recording the dilution, dwell time, pressure, temperature and rinsing method. Compare the patch while wet and after drying, checking graffiti removal, colour, texture, gloss, pitting, staining, coating damage and residue. The preferred technique is the least aggressive option that achieves an acceptable finish without altering the substrate or surrounding surface.