
How can selecting the right cleaning technique minimise the risk of damaging paving slabs and concrete surfaces during the cleaning process?
Selecting a cleaning technique based on the paving or concrete’s material, age, condition and soiling helps prevent surface etching, joint damage, staining and loosening. Using the lowest effective pressure, suitable water temperature and appropriate cleaning solution—combined with controlled application and a test area—minimises risk while achieving a thorough result.
Selecting the cleaning technique to suit the paving or concrete surface is the most effective way to minimise damage. The choice should be based on the material, surface finish, age, condition, jointing system and type of soiling, rather than applying the same pressure or chemical treatment across the whole site. Using the lowest effective pressure, controlled water flow, suitable temperature and compatible cleaning products helps prevent etching, spalling, staining, joint erosion and surface loosening.
Assess the surface before cleaning
Concrete and paving slabs can vary significantly in strength, porosity and finish. A sound, dense concrete surface may tolerate a different approach from older, weathered concrete, decorative paving or slabs with a weak surface layer. The assessment should identify:
- Whether the surface is cast concrete, natural stone, concrete paving, block paving or a coated material.
- Signs of cracking, flaking, delamination, exposed aggregate or previous surface damage.
- The condition and depth of mortar, sand or resin joints.
- Areas that have settled, become loose or are already vulnerable to water penetration.
- The type of contamination, such as algae, moss, soil, oil, tyre marks, cement residue, rust or graffiti.
- Nearby features that could be affected by water, cleaning solution or run-off, including doors, drainage channels, landscaping and building finishes.
Pre-existing defects should be recorded before work begins. Cleaning cannot correct structural movement, failed joints or damaged concrete, and aggressive treatment may make those issues more visible or worsen them.
Use the lowest effective pressure
Pressure washing is not automatically damaging, but excessive pressure, a poorly chosen nozzle or holding the lance too close can remove the surface cement paste and leave concrete rough, marked or more porous. On paving, it can displace jointing material, expose the edges of slabs and force water beneath loose units.
A controlled approach keeps the nozzle moving at a consistent distance and uses a suitable spray pattern rather than concentrating the full force of the water on one point. Broad fan patterns generally distribute impact more evenly than narrow jets. The operator should begin cautiously and increase the cleaning intensity only when the surface has been shown to tolerate it.
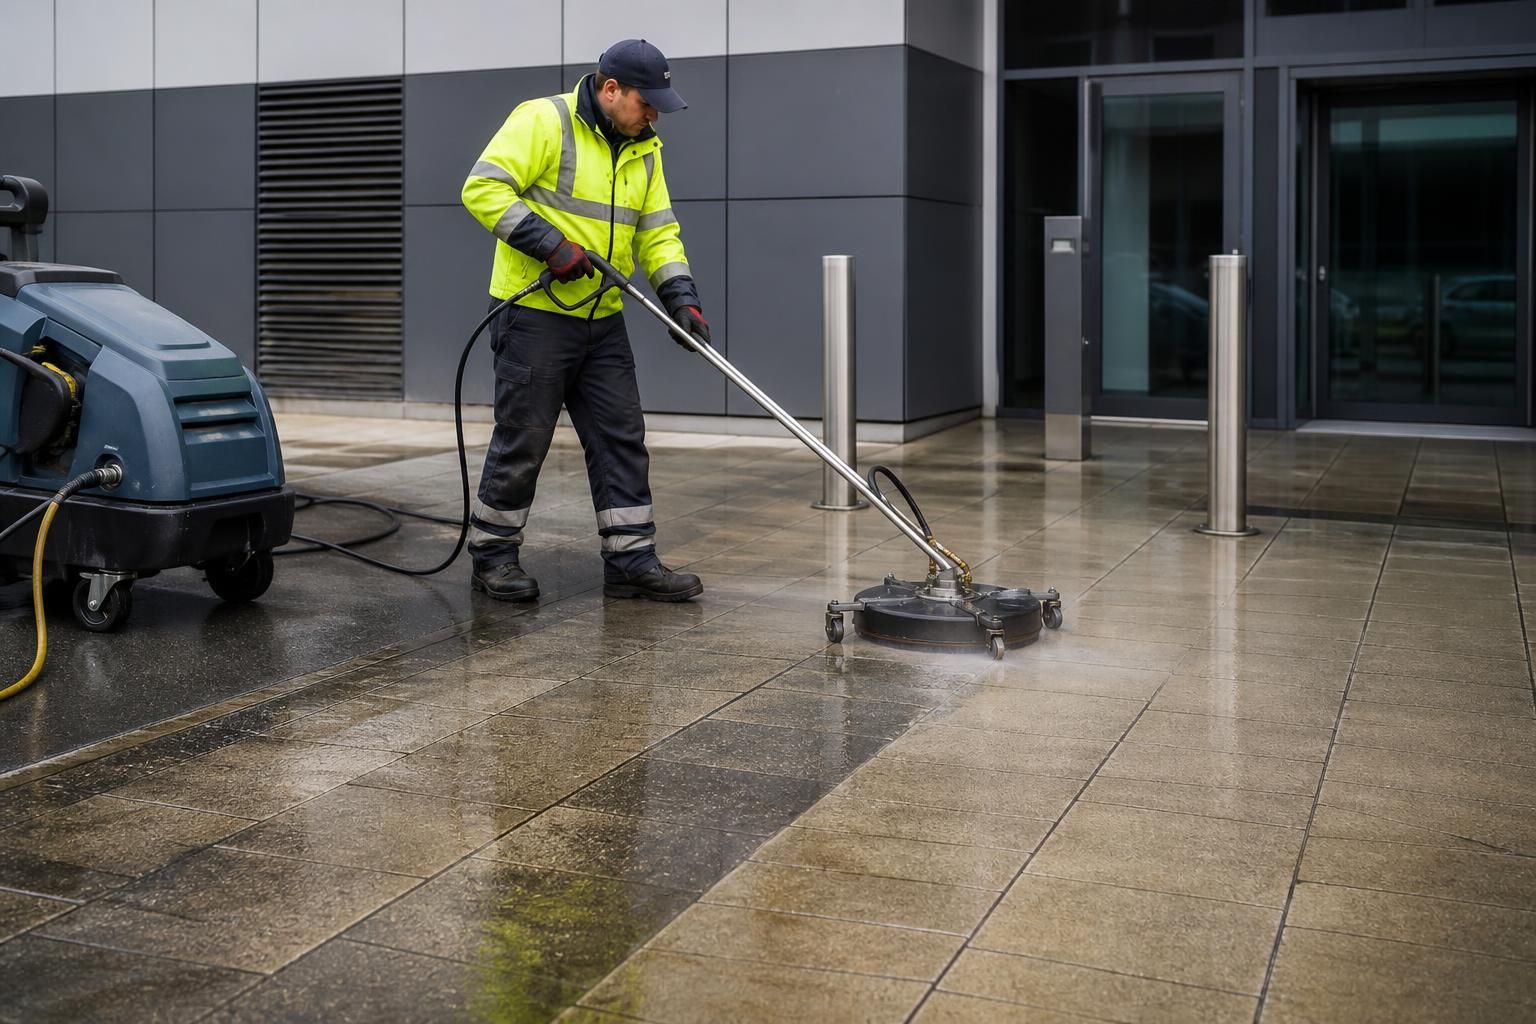
Flat-surface cleaning equipment can provide a more consistent result on suitable hard surfaces because it controls the spray and reduces random streaking. It is not appropriate for every paving type, however, so the equipment still needs to be selected according to the condition and construction of the surface.
Match the water temperature and cleaning solution to the soiling
Water alone may be suitable for loose dirt, dust and some organic deposits. Warm water or steam can help release greasy contamination and biological growth with less reliance on strong chemicals, provided the surface and surrounding materials can tolerate the heat. Excessive heat or sudden temperature changes should be avoided on vulnerable, coated or previously damaged surfaces.
Cleaning solutions should be chosen for the specific contaminant and used at the correct dilution. An alkaline degreaser may be appropriate for oil, whereas an organic growth treatment may be more suitable for algae or moss. Acidic products can react with cement-based materials, alter the appearance of concrete and damage adjacent metals, masonry, plants or drainage systems. They should not be used simply because a stain is difficult to remove.
Products should never be mixed unless the manufacturer expressly permits it. The product’s safety instructions, dwell time and rinsing requirements should be followed, with run-off contained or diverted where necessary.
Test a small, inconspicuous area
A test clean confirms whether the proposed pressure, nozzle, temperature and solution are suitable before the main work starts. The test area should include representative staining and, where possible, the jointing material as well as the slab or concrete surface. It should be allowed to dry before assessment, as water can temporarily hide colour changes, streaks or etching.
The test should be checked for:
- Changes in colour, texture or surface sheen.
- Loss of aggregate or cement paste.
- Washed-out, widened or loosened joints.
- Residual chemical staining or tide marks.
- Damage to coatings, sealants or nearby materials.
If the result is unsatisfactory, the method should be adjusted rather than repeating the same treatment over a larger area. Some deep staining or permanent discolouration cannot be removed without damaging the surrounding surface, so the safest outcome may be to reduce its appearance rather than pursue complete removal.
Protect joints, edges and vulnerable details
Joints are often more vulnerable than the paving slabs themselves. High-pressure water directed along a joint can remove sand or deteriorated mortar, while water entering beneath a slab can contribute to instability or frost-related damage. Cleaning should therefore avoid prolonged, close-range spraying directly into joints and should use lower intensity around broken edges, drainage channels and areas of settlement.
Loose slabs, open joints and failed pointing may require repair or re-jointing after cleaning. Where block paving is being cleaned, the jointing system should be considered before work begins so that the cleaning process does not create a maintenance issue that was not present previously.
Control the cleaning process
Even a suitable method can cause damage if it is applied inconsistently. Work should proceed in manageable sections, with overlapping passes that prevent untreated strips and excessive dwell time in one area. The operator should keep the lance or surface cleaner moving, avoid directing water at vulnerable building openings and stop if the surface begins to shed material or change unexpectedly.
Water and chemical run-off should be managed so that loosened contaminants do not spread across clean areas or enter surface water drains. Adjacent walls, vehicles, glazing, signage, electrical equipment and planted areas should be protected where they could be affected by spray or cleaning products.
Choose specialist techniques for particular problems
Different contaminants require different treatment. Light organic growth may respond to a controlled low-pressure clean followed by an appropriate treatment. Oil and grease may need pre-treatment and controlled rinsing. Cement or mortar residues can require specialist assessment because aggressive acid cleaning may permanently mark concrete or paving. Graffiti, paint and adhesive residues also need a method that removes the contaminant without stripping the substrate or its protective coating.
Steam cleaning, soft washing, rotary surface cleaning and carefully controlled pressure washing each have useful applications. The safest option is the one that removes the contamination with the least force and the fewest chemicals, not necessarily the method that produces the fastest visible change.
Inspect and protect the surface after cleaning
After cleaning, the surface should be rinsed appropriately, inspected when dry and checked for remaining defects, loose joints or areas requiring repair. Excess water should be removed or allowed to drain safely without carrying contamination into unsuitable drainage systems. Once the paving or concrete is clean and fully dry, sealing may be considered where it is compatible with the surface and the site’s use. A sealant can help reduce future staining and moisture penetration, but it will not repair cracked, unstable or structurally unsound material.
For commercial and industrial premises, recording the method used, the products applied, areas tested and any pre-existing defects creates a useful maintenance reference. It helps ensure that future cleaning is carried out consistently and that changing conditions, repairs or newly installed paving are taken into account.
In practice, the lowest-risk process combines a documented surface assessment, a representative test patch, controlled application and a final inspection. This approach protects the appearance and serviceability of paving slabs and concrete while still providing the level of cleaning required for safe, presentable commercial premises.
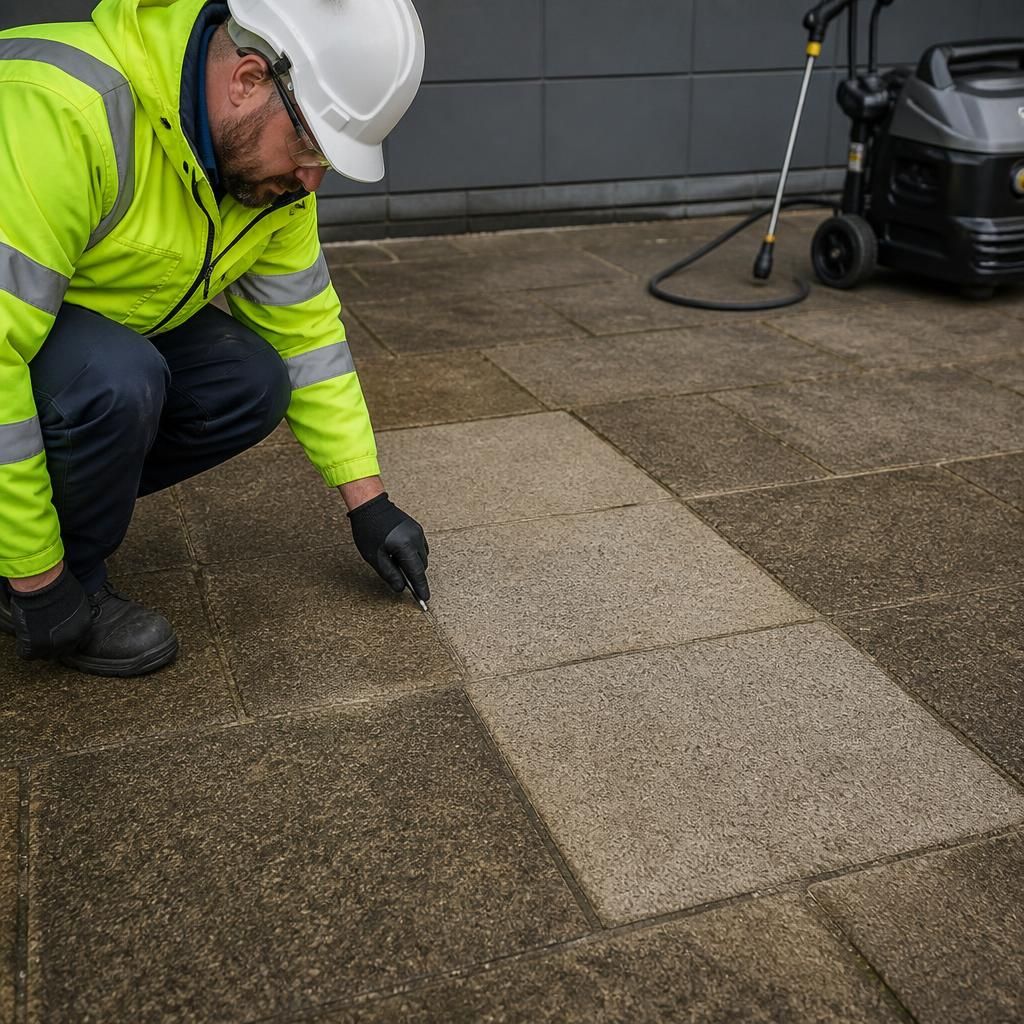
A representative test area is the most reliable way to confirm that a cleaning technique is safe for paving slabs or concrete before the full surface is treated. It allows the operator to assess pressure, nozzle distance, water temperature and cleaning solution against the actual surface, jointing material and contamination.
The test patch should be allowed to dry before it is assessed, as wet concrete and paving can temporarily conceal colour changes, etching or streaking. The surface should be checked for changes in texture, loss of cement paste or aggregate, weakened joints, coating damage and chemical marks. If any adverse effect appears, the method can be adjusted before it is applied across the wider area.
This controlled approach is particularly important for older, decorative, coated or previously damaged surfaces. Where complete stain removal would require aggressive treatment, reducing the stain’s appearance may be safer than risking permanent damage to the surrounding paving or concrete.