
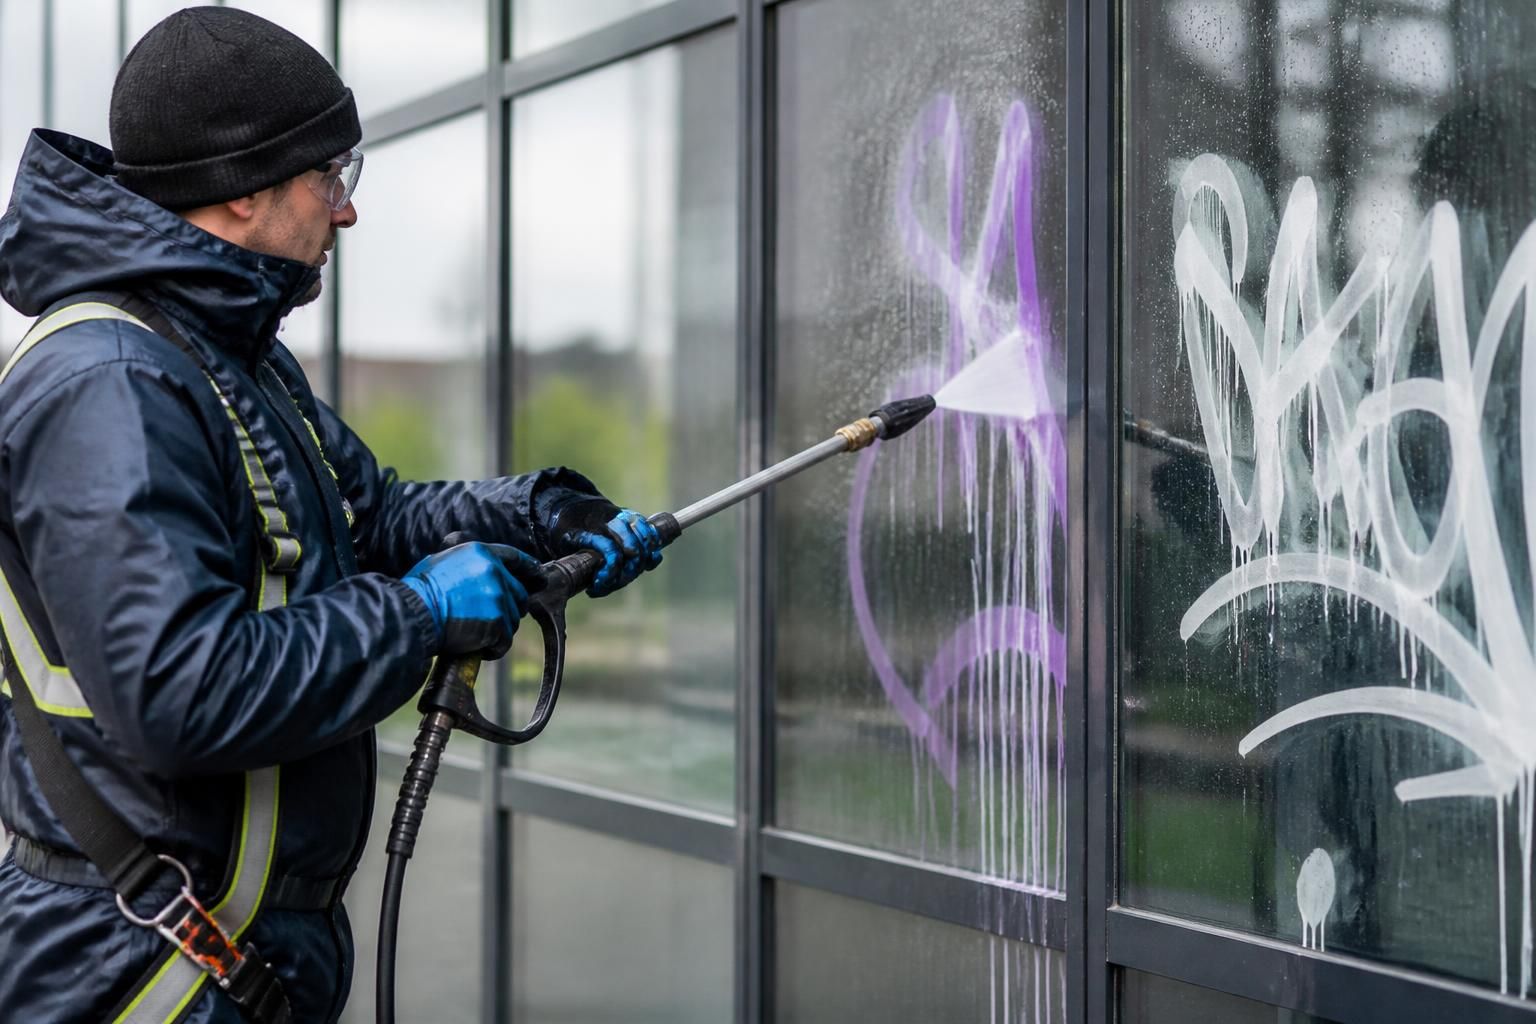
What preparation steps are essential before using pressure cleaning for graffiti removal on glass surfaces?
Before pressure cleaning graffiti from glass, inspect the pane, seals, frames and any applied film, remove loose debris, protect surrounding surfaces, and contain runoff. Carry out a discreet test patch to confirm the pressure, nozzle and cleaning solution are safe for the glass, then establish safe access and work controls before full removal.
Essential preparation for pressure cleaning graffiti from glass includes a detailed inspection, identification of vulnerable finishes, removal of loose debris, protection of adjacent materials, runoff control, and a discreet test patch. These steps confirm that the glass, seals, frames and any applied film can tolerate the proposed cleaning method before full removal begins.
Inspect the glass and its surrounding components first. Check each pane for cracks, chips, scratches, edge damage, failed seals and signs of movement in the frame. Identify whether the glass is laminated, toughened, coated, tinted or fitted with a solar-control, privacy or security film. Pressure and cleaning solutions that are acceptable for untreated glass may damage a film or coating. Inspect mullions, gaskets, silicone joints, beading, hinges and drainage channels as well, because water forced into these areas can cause leaks or dislodge deteriorated components.
Record existing defects before work starts, using photographs where appropriate. This distinguishes pre-existing damage from any condition discovered after cleaning and helps determine whether a pane should be repaired or replaced rather than pressure cleaned.
Assess the graffiti and choose the least aggressive workable process. Establish whether the marking is spray paint, marker ink, adhesive residue, etching or a mixture of substances. Paint and marker may respond to different cleaning solutions, while etched glass cannot be restored by pressure cleaning because the surface itself has been permanently altered. Avoid assuming that increased pressure will compensate for an unsuitable detergent or nozzle.
Confirm the cleaning solution is compatible with the glass and with nearby frames, seals, films, stone, painted surfaces and metalwork. Obtain the relevant product safety and technical information, and never mix chemicals unless the manufacturer specifically permits it. Where a chemical pre-treatment is required, use the lowest effective concentration and prevent it from drying on the glass.
Remove loose contamination before introducing pressure. Brush or rinse away grit, dust, loose paint flakes and other abrasive particles using a suitable soft tool or low-impact rinse. If these particles remain between the surface and the water stream, they can contribute to scratching or spread contamination across clean areas. Do not scrape glass with unapproved blades or abrasive pads, particularly where a film or coating is present.
Protect adjacent surfaces and vulnerable openings. Mask or shield nearby painted frames, timber, render, signage, electrical fittings, doors, vents and sensitive landscaping. Keep the spray away from seal lines and frame joints unless the method has been specifically assessed for those areas. Close or isolate windows, doors and ventilation openings where water or vapour could enter the building. Protection should be secured so that it cannot flap into the spray or trap contaminated water against the façade.
Plan runoff and environmental controls before cleaning. Determine where water, paint residue and any detergent will travel. Use drain covers, collection mats, temporary bunds or wet-vacuum recovery where necessary, and prevent contaminated runoff from entering surface-water drains or spreading onto public areas. Confirm how collected residue will be handled and disposed of in accordance with the site’s requirements and applicable regulations. On occupied premises, agree access restrictions, pedestrian diversions and working times in advance.
Carry out a controlled test patch. Select an inconspicuous area that represents the glass and graffiti condition across the elevation. Test the proposed solution, water temperature, pressure, nozzle pattern, working distance and dwell time in a controlled sequence. Begin with a broad fan spray, low pressure and a greater distance, increasing the cleaning action only when the glass and surrounding components show no adverse response.
After the test, inspect the area in good light for scratches, clouding, coating disturbance, staining, seal movement, water ingress or changes in appearance. Allow treated film or coated glass to dry fully before judging the result. A method that removes the graffiti but damages a surface treatment is not acceptable, so revise the process or use a different removal technique if the test is unsatisfactory.
Establish safe access and work controls. Select access equipment that allows the operator to keep the lance stable and maintain a consistent angle and distance from the pane. Check that platforms, towers, lifts or other equipment are suitable for the ground conditions and the height of the work. Set an exclusion zone below and around the cleaning area, account for overspray and falling debris, and use appropriate personal protective equipment, including eye and face protection, gloves and footwear with suitable grip.
Check weather and site conditions before starting. Strong wind can carry spray and debris onto people, vehicles or finished surfaces, while very cold conditions can create slip hazards or thermal stress. Avoid directing cold water at hot glass or hot water at cold glass, as sudden temperature changes can increase the risk of breakage. Confirm that all operators understand the agreed pressure limits, nozzle selection, chemical controls, emergency arrangements and stop-work conditions.
Once preparation is complete, clean systematically from the least contaminated area towards the heaviest marking, keeping the nozzle moving rather than concentrating the jet on one point. Use a controlled rinse to remove residue, inspect the glass and frames as the work progresses, and stop immediately if cracking, film lifting, seal failure or unexpected surface change is observed. Thorough preparation reduces the likelihood of damage and provides a repeatable, defensible process for achieving a clean result on glass.
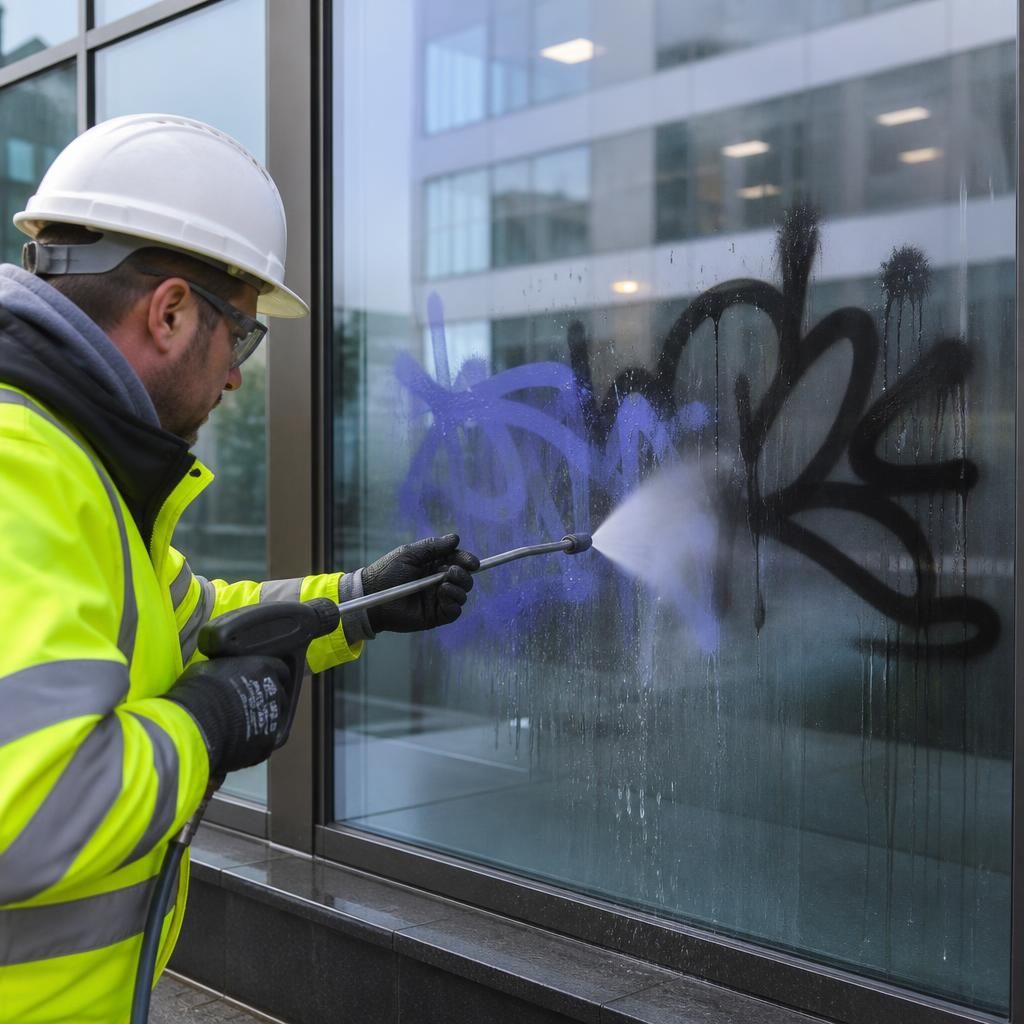
A controlled test patch is essential before pressure cleaning graffiti from glass because it confirms that the proposed pressure, nozzle, cleaning solution and working distance will remove the marking without damaging the pane or its finish.
Choose an inconspicuous area that represents the glass, coating, film and graffiti across the elevation. Start with a wide fan spray, low pressure and a greater working distance, then increase the cleaning action only if the surface remains unaffected. Check the dried test area for scratches, clouding, staining, coating disturbance, film lifting, seal movement or water ingress.
- Test the cleaning solution for compatibility with the glass, film, seals and frame.
- Keep the nozzle moving and avoid concentrating the spray on edges, joints or damaged areas.
- Allow coated or filmed glass to dry fully before assessing the result.
- Stop and revise the method if the graffiti remains but the surface shows any adverse change.